How To Create Facebook Page for Business Creating a business page for Facebook doesn’t have to be hard. You probably already have all the images, text, and ideas you need to create your business page on Facebook. To get your page up and running, you just need to sit down and work through a couple of easy measures.
Do you need some inspiration to start? Remember that every month, 2.5 billion people use Facebook, and more than 140 million other companies are now using Facebook to connect to that large audience.
So, let’s dive into how to build a company’s Facebook account. In order to launch your page by the end of the day, follow these steps.
How to build a Company Facebook Page
You need to log into your personal Facebook account before you can sign up for your Facebook business page. But don’t worry, the data from your personal account on your company page will not be publicly available.
So, if your personal account isn’t already signed in, login now, then dive into the steps of page formation.
https://youtu.be/yM7qtaIovuw
Phase 1: Subscribe
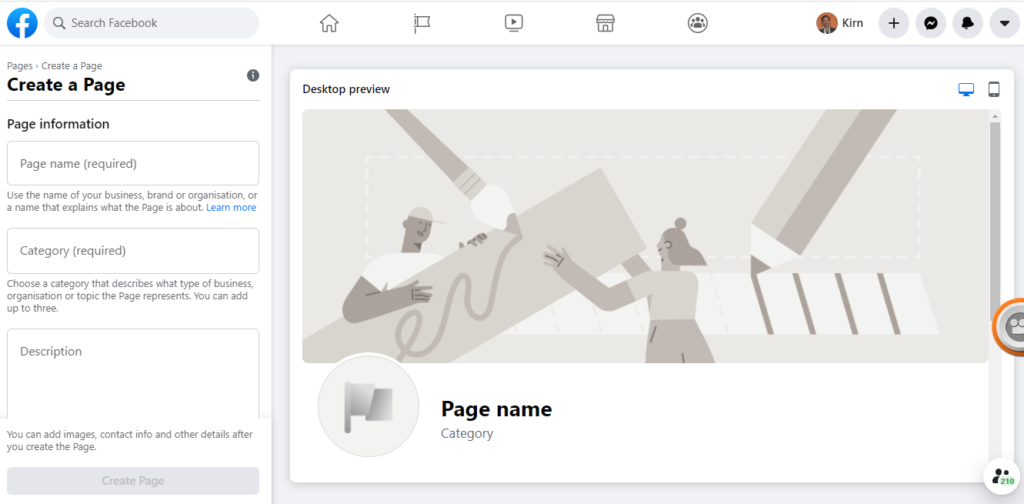
Go to facebook.com/create/pages.
Pick the type of page you want to create: company/brand or public figure/community. We assume that you are building a page for a company or brand in this article, so click the Get Started button for that choice.
Enter your company details next. Use your business name for your page name or the name individuals are likely to look for when trying to locate your business.
The box will expand to ask for a few additional details, such as your address and phone number, once you select your category. You can choose whether to make this data public or just display your city and state.
Click on Continue when you are finished. Remember that doing so implies your approval of the accounts, groups, and events policies of Facebook, so before you continue, you may want to check those out.
The 2nd stage. Add images
First, you’ll upload your Facebook page’s profile and cover photos. Creating a good visual first impression is crucial, so choose wisely here. Make sure that the pictures you choose fit with your brand and are easy to associate with your business.
First, you’ll upload your profile picture. In search results and when you connect with users, this image accompanies your company name. On the top left of your Facebook page, it appears as well.
Using your logo is probably a safe way to go if you have a recognizable name. An image of your face can act as a charm if you’re a celebrity or public figure. And if you are a local business, try your signature offering with a well-shot picture. The main thing is to help a potential follower or client to instantly recognize your website.
Your Facebook profile image shows 170 x 170 pixels on the web and 128 x 128 pixels on the smartphone, as we describe in our post on the best image sizes for all social networks. It’s going to be cropped into a circle, so don’t put in the corners any vital data.
After a great picture has been selected, press Upload Profile Image.
Now it’s time to pick the most famous image on your Facebook business profile, your cover image.
This image should capture your brand’s essence and express the personality of your brand. It will be shown on the desktop at 820 x 312 pixels or on the smartphone at 640 x 360 pixels. The picture must have a width of at least 400 pixels and a height of 150 pixels, but the recommended size for upload is 720 x 315.
Once a suitable picture has been chosen, press the Upload Cover Photo.
Ta-da!-Da! Although it is incredibly sparse, you have a Facebook business page.
Of course, while the skeleton of the Facebook page for your company is now in place before you share it with your audience, you still have some work to do. Don’t worry, your profile is not publicly available yet. (Later on in this post, we’ll make that happen.) What you see now is a preview.
Step 3: Build a Username for You
Your username, often referred to as your vanity URL, is how you tell people on Facebook where to find you.
Your username can be up to 50 characters long, but only because you can do it, don’t use extra characters. You want it to be straightforward to type and quick to recall. A safe bet is your company name or any apparent combination thereof.
To set up the vanity URL, press Build Page @Username on the left-hand menu.
Click Create Username when you’re done. A box will pop up showing you the links people can use to connect with your business on Facebook and Messenger.
Step 4: Add your business details
While you might be tempted to leave the details for later, it’s important to fill out all of the fields in your Facebook Page’s About section right from the start.
As Facebook is often the very first place a customer goes to get information about you, having it all it is important. For example, if someone is looking for a business that’s open till 9, they want to confirm this information on your page. If they can’t find it, they’ll surely keep looking until they find another place that’s more forthcoming.
To start filling out your business information, from the top menu, click Edit Page Info. You can share all the important data about your company on this computer.
Summary, Summary
This is a short description that appears in the results of the quest. It’s meant to be only a few sentences (255 characters maximum), so there’s no need to get too elaborate here. We’re going to show you later where to add a longer summary.
The categories
You can see the group that you entered in Phase 1 here. If you want, to make sure Facebook reveals your profile to all the right people, you can add additional categories here.
Touch With
Add all the contact information, including your phone number, website, and email, that you want to make public.
Place Field
Check to ensure that your location is indicated correctly on the map if you have a physical storefront or office. You may also include information about your coverage area, so that, for instance, individuals know which communities you deliver to.
The Hours
If during specific hours your company is open to the public, join those here. In search results, this knowledge appears.
Extra Choices
Enter the imprint, price range, and privacy policy connexion, if applicable. An imprint is a legal declaration of ownership, and it is usually required only in some European countries.
To enforce your changes as you go, click Save Changes under each line.
Oh, move to Say the story
All the basic details about your company have been filled in, but there is not much here yet to tell people why they should connect on Facebook with your company.
Luckily, there is a section of your business page on Facebook where you can add a longer overview of your company. To access it, on the left-hand menu, click See More, and then on the right-hand side, click About, and then click Our Story.